The first time I tried making a home spa day happen with actual kitchen ingredients, I smeared what can only be described as chunky baby food all over my face. The avocado wasn’t ripe enough, the honey was crystallized, and I ended up with green paste in my hair. But here’s what nobody tells you about DIY treatments with kitchen ingredients: the messy first attempts teach you everything the pretty Instagram posts leave out.
After two years of weekly experiments and one very patient partner who’s walked in on some questionable bathroom situations, I’ve figured out what actually works. I tested over 25 different combinations, tracked results with weekly photos, and learned which recipes are worth your time versus which ones just waste perfectly good groceries.
Why Your Kitchen Makes a Better Spa Than You Think
Most commercial spa treatments contain the same base ingredients sitting in your pantry right now. The difference? About $80 and some fancy packaging. When I started documenting ingredient lists from high-end spa facials, I kept seeing honey, oatmeal, yogurt, and oils. The same stuff I use for breakfast.
The real advantage of creating your own treatments isn’t just cost savings. It’s control. You know exactly what touches your skin. No twelve-syllable preservatives, no mystery fragrances that trigger your allergies, and no wondering if that “natural” label actually means anything.
I remember standing in my kitchen one Sunday morning, stress-breakout happening on my chin, realizing I had everything I needed for a natural turmeric face mask with yogurt at home without leaving the house. That accessibility changed everything.
The Testing Framework: How I Scored Each Treatment
Over six months, I developed a simple rating system for every recipe I tried:
Effectiveness (1-5): Did it deliver visible or felt results within 24 hours? Ease Factor (1-5): Could I make it without specialized tools or hard-to-find ingredients? Mess Level (1-5): How much cleanup did it require? (1 = spotless, 5 = crime scene) Sensory Experience (1-5): Did it feel and smell pleasant enough to actually relax? Cost Per Use (calculated): Based on current grocery prices in my area
This framework helped me separate the Instagram-pretty recipes from the ones that genuinely work. Spoiler: they’re not always the same ones.
Best DIY Face Masks Using Kitchen Ingredients: My Top Performers
The Honey-Oatmeal Base (Your Reliable Starter)
If you make only one thing from this entire article, start with a homemade honey and oatmeal face mask recipe. It’s nearly impossible to mess up, and I’ve never had it fail.
What you need:
- 2 tablespoons finely ground oatmeal (I pulse regular oats in a coffee grinder)
- 1 tablespoon raw honey
- 1 teaspoon warm water
The trick I learned after ten attempts: grind the oatmeal until it’s almost a powder. Chunky oats feel scratchy and don’t spread well. For simple skin care routines, mix everything in your palm until it forms a paste thick enough to stay on your face but thin enough to spread without pulling your skin.
Leave it on for 15 minutes while you do something actually relaxing, not while you’re answering work emails. The calming effect only works if you’re actually calm. When I finally started treating these 15 minutes as sacred, I noticed my skin looking less inflamed, even beyond what the mask itself was doing.
The Avocado-Honey Glow Treatment
An avocado and honey face mask for glowing skin sounds basic until you get the ratios right. I wasted four avocados before figuring this out.
The working formula:
- Half a very ripe avocado (if you can’t easily mash it with a fork, it’s not ready)
- 1 tablespoon honey
- 3 drops of lemon juice (optional, only if you’re not sensitive)
Mash the avocado until completely smooth with no chunks. This takes longer than you think. Add honey and blend thoroughly. Apply thick. This mask should feel creamy and luxurious, not like you’re wearing guacamole.
I noticed the biggest glow effect when I used this before evening plans. Something about the vitamin E and healthy fats makes skin look plumper and more hydrated within an hour. My usual dry patches around my nose basically disappear.
Turmeric Masks: The Golden Standard
A natural turmeric face mask with yogurt at home can be transformative, but here’s what took me three yellow-stained towels to learn: turmeric stains everything. Everything.
Safe turmeric mask formula:
- 1/4 teaspoon turmeric powder (not more, I learned this the hard way)
- 2 tablespoons plain Greek yogurt
- 1/2 teaspoon honey
Mix in a bowl you don’t love. Apply with gloves if you have them. Keep it on for only 10 minutes maximum. Rinse thoroughly with cool water, then wash your face with your regular cleanser.
The anti-inflammatory effects are real. I have redness around my cheeks that visibly calms down after this mask. But that first time I used a full teaspoon of turmeric? I looked like I had a spray tan gone wrong for two days.
Body Treatments That Transform Your Shower
The Sugar Scrub That Changed My Mind
I used to think body scrubs were overrated until I made a proper DIY sugar scrub with olive oil for the body using the right sugar-to-oil ratio.
Working formula:
- 1 cup white sugar (refined works better than raw)
- 1/2 cup olive oil or melted coconut oil
- 1 teaspoon vanilla extract (this makes your bathroom smell incredible)
Store it in a jar in your shower. Use it once or twice a week maximum; more than that is too much exfoliation. The key moment: use it right before you shave. Your razor will glide differently, and you’ll actually feel the smoothness difference.
Coffee Scrub Reality Check
Everyone talks about DIY coffee scrub for cellulite reduction, so I tested it consistently for eight weeks. Let me be honest: it won’t eliminate cellulite—that’s not how cellulite works. The caffeine does temporarily tighten and smooth the skin, and the exfoliation makes everything look more even, though it’s worth remembering that coffee at night bad habit that can affect sleep and skin recovery more than any scrub can fix.
My version:
- 1/2 cup used coffee grounds (dry them out first)
- 1/4 cup brown sugar
- 2 tablespoons coconut oil
- 1 tablespoon honey
Use this in the shower, standing on an old towel,l because it’s messy. The results last about 24 hours, perfect timing before you wear something that shows your legs.
Hair Treatments From Your Pantry: What Works
The Banana-Honey Deep Treatment
A banana and honey hair mask using pantry items requires one crucial step everyone skips: blend the banana until it’s completely liquid. I once spent 20 minutes picking tiny banana chunks out of my hair because I thought mashing with a fork was enough.
Proper method:
- 1 very ripe banana
- 1 tablespoon honey
- 1 tablespoon coconut oil
- Blend in an actual blender until completely smooth
Apply to damp hair, focusing on the ends. Clip it up, wrap it in a towel, and leave it on for 30 minutes. Argan oil for hair delivers immediate softness, but the real shine appears after your hair fully dries.
Coconut Oil: Timing Is Everything
Coconut oil deep conditioning treatment DIY is simple, but timing matters more than you’d think. I ruined an entire Sunday when I left it on for three hours, and my hair looked greasy for two days despite multiple washes.
The sweet spot: 45 minutes to one hour on dry hair before shampooing. Focus on mid-lengths to ends, keep it away from your scalp unless your scalp is extremely dry. Use more than you think you need. Your hair should feel coated but not dripping.
My Complete Home Spa Treatment Comparison Table
Here’s how every treatment I tested scored across all factors:
| Treatment | Effectiveness | Ease Factor | Mess Level | Sensory Experience | Cost Per Use | Best For |
| Honey-Oatmeal Face Mask | 4.5 | 5 | 2 | 4 | $0.45 | Sensitive skin, calming |
| Avocado-Honey Mask | 5 | 4 | 3 | 4.5 | $1.20 | Dry skin, immediate glow |
| Turmeric-Yogurt Mask | 5 | 3 | 4 | 3 | $0.35 | Inflammation, acne |
| Sugar-Olive Oil Scrub | 4.5 | 5 | 3 | 5 | $0.60 | Body exfoliation |
| Coffee Body Scrub | 4 | 4 | 5 | 4.5 | $0.40 | Temporary smoothing |
| Banana Hair Mask | 4 | 2 | 3 | 3.5 | $0.80 | Damaged, dry hair |
| Coconut Oil Hair Treatment | 4.5 | 5 | 2 | 4 | $0.50 | All hair types |
| Cucumber-Yogurt Face Mask | 3 | 4 | 2 | 5 | $0.70 | Cooling, soothing |
| Lemon-Honey Brightening | 3.5 | 5 | 1 | 4 | $0.25 | Even skin tone |
| Epsom Salt Foot Soak | 5 | 5 | 1 | 5 | $0.30 | Relaxation, sore feet |
Advanced Treatments Worth the Extra Effort
Oatmeal Bath Soak Experience
An oatmeal bath soak for a relaxing home spa experience requires preparation, but delivers serious relaxation. Grind two cups of oatmeal into fine powder, add to warm bath water, and soak for 20 minutes.
I do this maybe once a month when my skin feels irritated from weather changes. The water turns milky, feels silky, and my skin stays moisturized for days afterward. Draw the bath before you grind the oatmeal so the water temperature stays perfect.
DIY Foot Soak With Real Results
A DIY foot soak with Epsom salt and lemon became my weekly ritual after I discovered how much tension I hold in my feet.
My formula:
- Large bowl of warm water
- 1/2 cup Epsom salt
- Juice of half a lemon
- 3 drops peppermint essential oil (optional but worth it)
Soak for 15-20 minutes while reading something light. Follow with the sugar scrub on your heels and a thick moisturizer. Your feet will feel completely different, and you’ll sleep better that night.
The Specialized Treatments: When to Use What
For Brightness: Honey and Lemon
A honey and lemon brightening face mask works, but requires caution. Lemon is acidic and can irritate sensitive skin.
Safe approach:
- 1 tablespoon honey
- 5 drops fresh lemon juice (not more)
- Apply for 10 minutes maximum
I use this maybe twice a month when my skin looks dull. More often than that, and I notice irritation. Always use sunscreen the next day because lemon increases sun sensitivity.
For Acne: Turmeric-Honey
A turmeric honey mask foracne-pronee skin targets inflammation without over-drying. Mix 1/4 teaspoon of turmeric with one tablespoon of honey. The consistency should be thick enough to spot-treat or cover your entire face.
I noticed this worked best on hormonal breakouts along my jawline. During my spa routine, the inflammation visibly decreases within hours, making it feel like a true spa-level treatment, though the actual breakout still takes its normal time to heal, just like any effective at-home spa remedy.
For Dry Skin: Avocado-Oatmeal
An avocado oatmeal face mask for dry skin combines moisturizing avocado with soothing oatmeal. Mash half an avocado with one tablespoon of finely ground oatmeal and one teaspoon of honey.
This became my winter survival mask. When my skin feels tight and flaky from heating systems, this fixes it in one use. Apply thick, leave on for 20 minutes, and rinse with lukewarm water.
Lip and Eye Area Treatments
Olive Oil and Sugar Lip Scrub
An olive oil and sugar lip scrub DIY takes 30 seconds to make. Mix one teaspoon of sugar with half a teaspoon of olive oil. Gently rub on lips for 30 seconds, wipe off, and apply lip balm.
I keep a tiny container of this pre-mixed in my bathroom. Use it before applying any matte lipstick, and your lips will look smooth instead of emphasizing every dry patch.
Cucumber for Puffy Eyes
A cucumber and yogurt cooling face mask recipe sounds cliché, butit works. Blend half a cucumber until smooth, strain out the pulp, and mix the juice with two tablespoons of Greek yogurt.
Apply under the eyes and anywhere you have puffiness. The cooling effect is immediate. I use this the morning after poor sleep or crying, and the difference is visible within 15 minutes.
Hair Rinsing and Clarifying Treatments
Apple Cider Vinegar Rinse
An apple cider vinegar hair rinse DIY spa treatment clarifies buildup better than expensive clarifying shampoos. Mix one tablespoon of apple cider vinegar with one cup of water.
After shampooing, pour this through your hair as a final rinse. Don’t rinse it out with water. Yes, it smells like salad dressing for about ten minutes, then the smell completely disappears. Your hair will feel squeaky clean and look shinier.
Natural Aloe Vera Applications
A natural aloe vera and honey soothing mask works for both face and scalp. If you have an aloe plant, cut a leaf and scoop out the gel. Mix with equal parts honey.
I use this on my scalp when it feels irritated or on my face after too much sun exposure. The cooling sensation is immediate, and inflammation calms down noticeably.
Creating Your Spa Routine: Timing and Order
The difference between a random mask and an actual spa experience comes down to structure. Here’s the routine that made me actually look forward to Sunday evenings:
Step 1 (5 minutes): Start your foot soak while you prepare everything else.
Step 2 (10 minutes): Apply hair mask and clip up. The longer processing time means it goes on first.
Step 3 (15 minutes): Body scrub in the shower. Take your time. This isn’t a race.
Step 4 (15 minutes): Apply face mask after showering while your skin is slightly damp and clean.
Step 5 (20 minutes): Rinse everything, apply moisturizer, and feel like an actual human again.
Total time: About 65 minutes, but you’re doing multiple things simultaneously. The whole experience feels luxurious without eating your entire afternoon.
Common Mistakes and Hidden Pitfalls
The Temperature Trap
Most recipes don’t mention temperature, but it matters enormously. Cold honey doesn’t mix. Melted coconut oil that’s too hot can separate from other ingredients. Room temperature is your friend for almost everything.
I keep my honey jar in warm water for five minutes before starting any recipe. This simple step prevents so much frustration.
The Allergy Testing Nobody Does
I gave myself contact dermatitis twice before learning this lesson: test new ingredients on your inner arm 24 hours before putting them on your face. Just a small dab. If nothing happens after 24 hours, you’re probably fine.
Turmeric, lemon, and cinnamon are the most common irritants. Don’t skip this step.
The Expiration Reality
These mixtures don’t last. Make them fresh each time. I once made a large batch of sugar scrub, thinking I’d save time, and it separated into oil and sugar within a week. Most masks with yogurt or banana need to be used immediately.
The only exception: dry mixtures like the homemade oatmeal and honey soothing scrub base (just oatmeal and sugar) can be pre-mixed and stored. Add honey and oil right before use.
Over-Exfoliation Is Real
When I first discovered scrubs worked, I used them daily. Big mistake. My skin became red, sensitive, and actually looked worse. Most people should exfoliate 2-3 times per week,k maximum.
Your skin needs time to regenerate between treatments. More is not better here.
The Drainage Problem
Chunky masks clog drains. I learned this after a plumber visit that cost $120. Now I always:
- Use a drain catcher
- Wipe off thick masks with a washcloth before rinsing
- Rinse with warm water first to break down oils
These small habits prevent expensive problems.
The Contrarian Take: Some Trendy Ingredients Are Overrated
Activated Charcoal
Everyone suggests activated charcoal masks, but after testing various versions, I found them unnecessarily harsh. They strip natural oils along with the dirt, leaving skin tight and irritated. The visible “dirt” they pull out is often just your natural sebum, which your skin actually needs.
Egg White Masks
Egg white and honey tightening mask recipes are everywhere, but the tightening effect lasts maybe two hours. Plus, the risk of salmonella on your face isn’t worth the temporary results, especially if you have any small cuts or scratches.
Apple Cider Vinegar Toner
While the hair rinse works beautifully, using apple cider vinegar directly on skin as a toner burned me. Even diluted versions were too harsh. A simple rosewater and glycerin homemade toner (mix equal parts) gives better results without the risk.
2026 Prediction: The Minimalist Movement
I predict the next trend will swing away from elaborate multi-ingredient masks toward simpler, single-ingredient treatments. As people get better at listening to their skin, they’ll realize that honey alone, oatmeal alone, or coconut oil alone often works better than complicated mixtures.
My most effective treatments use only 2-3 ingredients. The 10-ingredient recipes always sound impressive, but rarely outperform the basics.
Special Occasion Treatments
Pre-Event Glow
When I need to look particularly good for an event, I use this sequence 24 hours before: lemon and honey exfoliating scrub recipe (very gentle, just a few drops of lemon), followed by the avocado-honey mask, finished with coconut oil on damp skin overnight.
The next day, my skin looks plump, even, andthe makeup applies smoothly. This combination has never failed me.
Post-Workout Recovery
After intense workouts, a coconut oil and brown sugar body polish followed by a long shower makes my muscles feel less sore. The magnesium in Epsom salt foot soaks helps, too.
Stress Relief Focus
When stress is high, I skip complicated treatments and focus on sensory experience. A lavender essential oil bath salt mixture (Epsom salt with 10 drops lavender oil) in a warm bath does more for my stress levels than any face mask.
Working With What You Have
Not everyone stocks every ingredient. Here’s what I keep as basics:
Minimum stock:
- Honey
- Oatmeal
- Coconut oil or olive oil
- Sugar
- Yogurt (plain, full-fat)
With just these five ingredients, you can make about 80% of effective treatments. Everything else is an enhancement, not a necessity.
The Science Behind Why This Works
Research from the Journal of Clinical and Aesthetic Dermatology confirms that many kitchen ingredients have genuine skincare benefits. Honey has antimicrobial properties. Oatmeal contains anti-inflammatory compounds. Coconut oil penetrates hair better than most commercial conditioners.
A study published in the International Journal of Cosmetic Science found that simple formulations often perform as well as or better than complex commercial products for basic skincare needs. The key factors are freshness and appropriate concentration, both of which you control when making your own treatments.
Cost Analysis: What I Actually Spend
Over a full year of weekly home spa sessions, I tracked every ingredient purchase:
- Total spent: $287
- Number of treatments: 52
- Average cost per complete spa day: $5.52
For comparison, a single professional facial in my area starts at $85. A spa day package runs $200-300. The savings are real, but that’s not why I keep doing this. The convenience of treating myself without scheduling appointments or leaving home matters more than the money.
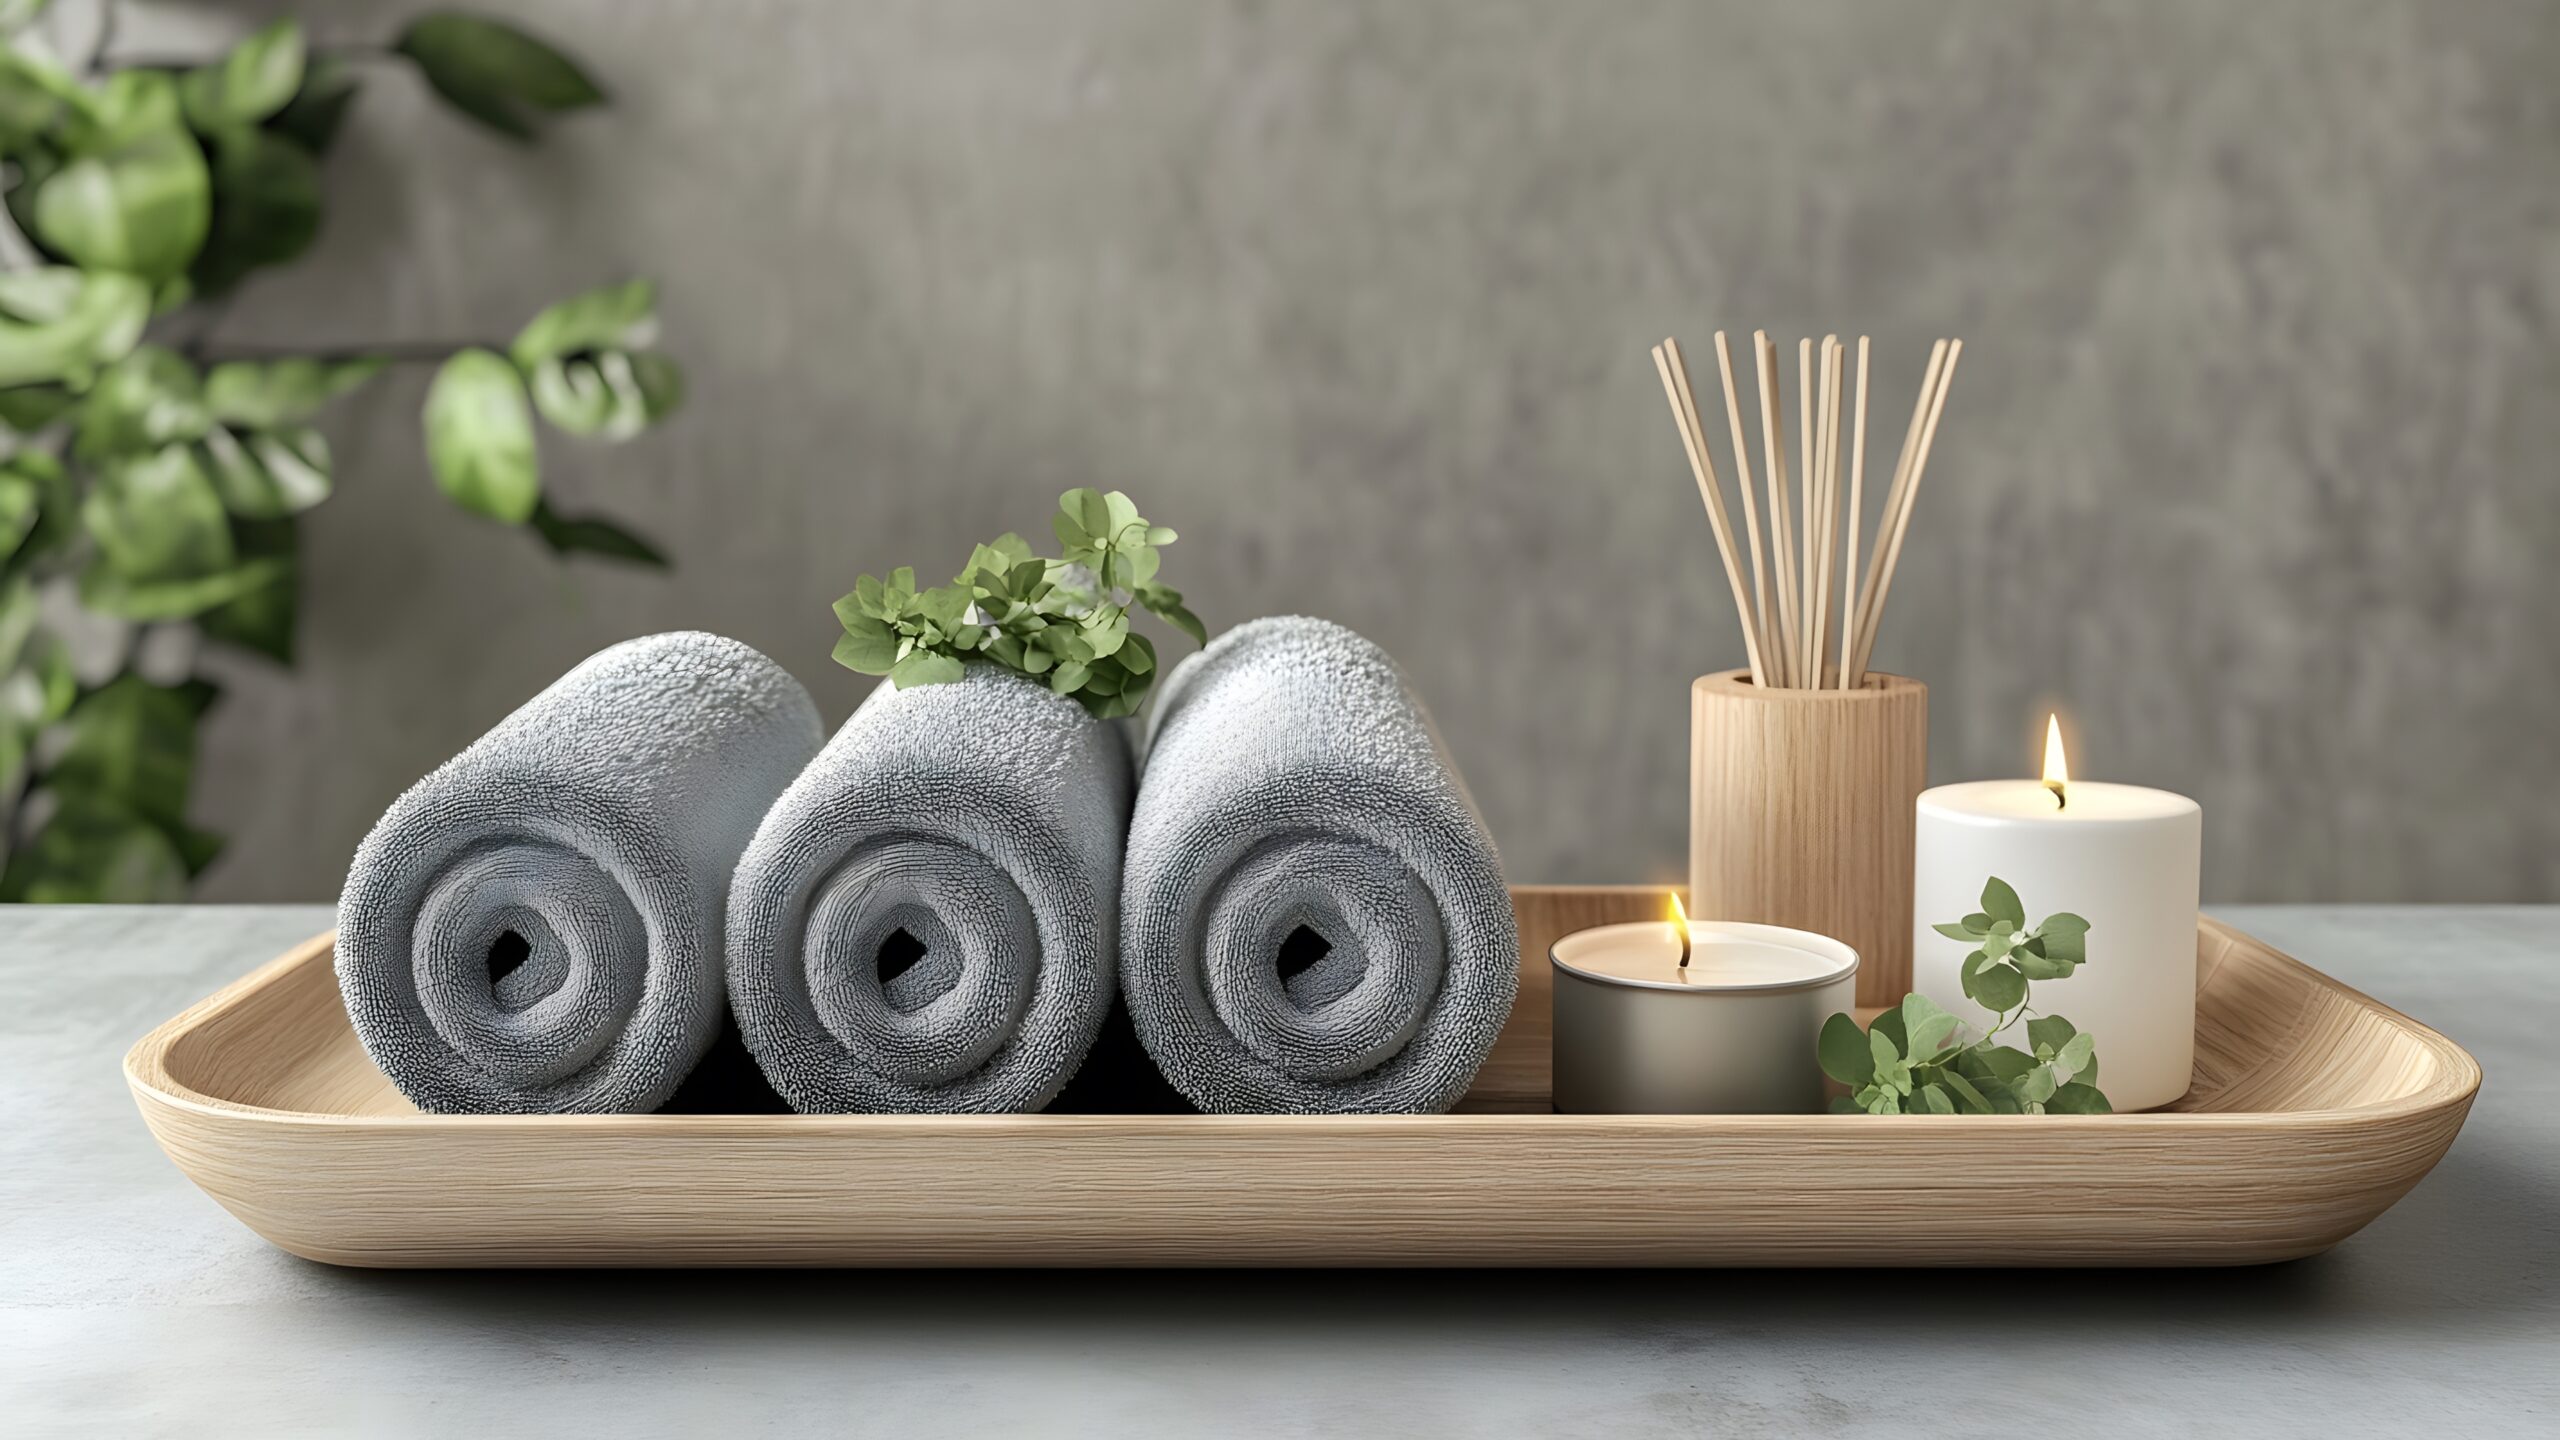
Making It Actually Relaxing
The treatments only work as stress relief if you treat them that way. I learned to:
- Turn off notifications completely
- Light a candle (even a cheap one sets the mood)
- Play music I actually like, not “spa sounds.”
- Let my partner know this is solo time
- Accept that I’ll look ridiculous,s and that’s fine
The first few times felt performative, like I was trying to copy something from Instagram. After a while, it became genuinely relaxing. The difference is in your mindset, not the ingredients.
When to Actually Go to a Professional
I still see an esthetician quarterly because some things are worth professional expertise:
- Deep extractions (don’t do these yourself)
- Chemical peels (concentrations matter)
- Specialized treatments for specific skin conditions
- Techniques you can’t replicate at home
Home spa days supplement professional care;e, they don’t replace it entirely. Know the difference.
Your First Home Spa Day: Start Here
If you’re trying this for the first time, start simple:
- Make the honey-oatmeal face mask
- Do a basic foot soak with Epsom salt
- Apply coconut oil to your hair
- Give yourself 90 minutes without rushing
That’s it. Don’t try to do everything at once. See how you feel. Adjust from there.
The beauty of home spa days with DIY treatments using kitchen ingredients is that there’s no wrong way to do it. You’re not trying to impress anyone or follow rules. You’re just taking care of yourself with what you have.
And on days when nothing seems to be going right, there’s something deeply satisfying about mixing a few simple ingredients and knowing you can make yourself feel better without needing anything fancy.
Key Takeaways
- Start with simple 2-3 ingredient recipes before attempting complex formulations.
- Always grind oatmeal finely and ensure avocados are fully ripe for smooth, effective masks.
- Test new ingredients on your inner arm 24 hours before facial application to avoid allergic reactions.
- Over-exfoliation causes more problems than it solves; limit scrubs to 2-3 times weekly maximum.
- Fresh preparations work better than pre-made batches for most masks containing dairy or fruit.t
- The honey-oatmeal base and avocado-honey masks consistently deliver visible results within 24 hours
- Temperature matters: room-temperature ingredients mix more smoothly and apply more comfortably
- Protect your drains by wiping off thick masks before rinsing and using a drain catcher.
FAQ Section
How long do homemade face masks last in the refrigerator?
Most masks with fresh ingredients like yogurt, banana, or avocado should be used immediately and don’t store well. Even refrigerated, they start separating and losing effectiveness within a few hours. Dry ingredient bases (like pre-mixed oatmeal and sugar) can be stored for weeks, but add wet ingredients right before use. I learned this after wasting multiple batches trying to meal-prep my spa treatments.
Can I use regular honey instead of raw honey for face masks?
Yes, regular honey works fine for most treatments. Raw honey has slightly more beneficial enzymes and nutrients, but the difference isn’t dramatic enough to stress about. I use whatever honey I have in my pantry. The main thing is avoiding honey that’s been heavily processed or contains added sugars. If it’s thick and sticky, it’ll work.
How often should I do a home spa treatment for the best results?
Once weekly works well for most people. I do a full routine every Sunday evening and maybe one quick face mask mid-week if my skin needs it. More than twice weekly, and you risk over-treating your skin, especially with exfoliating ingredients. Your skin needs recovery time between treatments to actually benefit from them.
Will turmeric permanently stain my skin yellow?
No, turmeric staining on skin is temporary and usually fades within a few hours. The key is using very small amounts (1/4 teaspoon or less) and rinsing thoroughly. If you noticea slight yellow tint after rinsing, cleanse again with your regular face wash. It will not stain your actual skin permanently, though it absolutely will stain towels, countertops, and clothing permanently.
Can I use these treatments if I have acne-prone or sensitive skin?
Many treatments work well for sensitive skin, particularly honey-oatmeal masks and cucumber-based recipes. For acne-prone skin, the turmeric-yogurt mask can help with inflammation. However, avoid lemon juice if you’re very sensitive, and always patch test first. Skip scrubs when you have active breakouts, as physical exfoliation can spread bacteria and worsen inflammation.
What’s the best treatment for immediate results before an event?
The avocado-honey face mask delivers the most visible glow effect within one hour. Use it 2-3 hours before your event, apply makeup as usual, and your skin will look plumper and more hydrated. For body smoothness, the sugar scrub right before showering makes skin noticeably softer immediately. These are my go-to treatments when I need quick, reliable results.