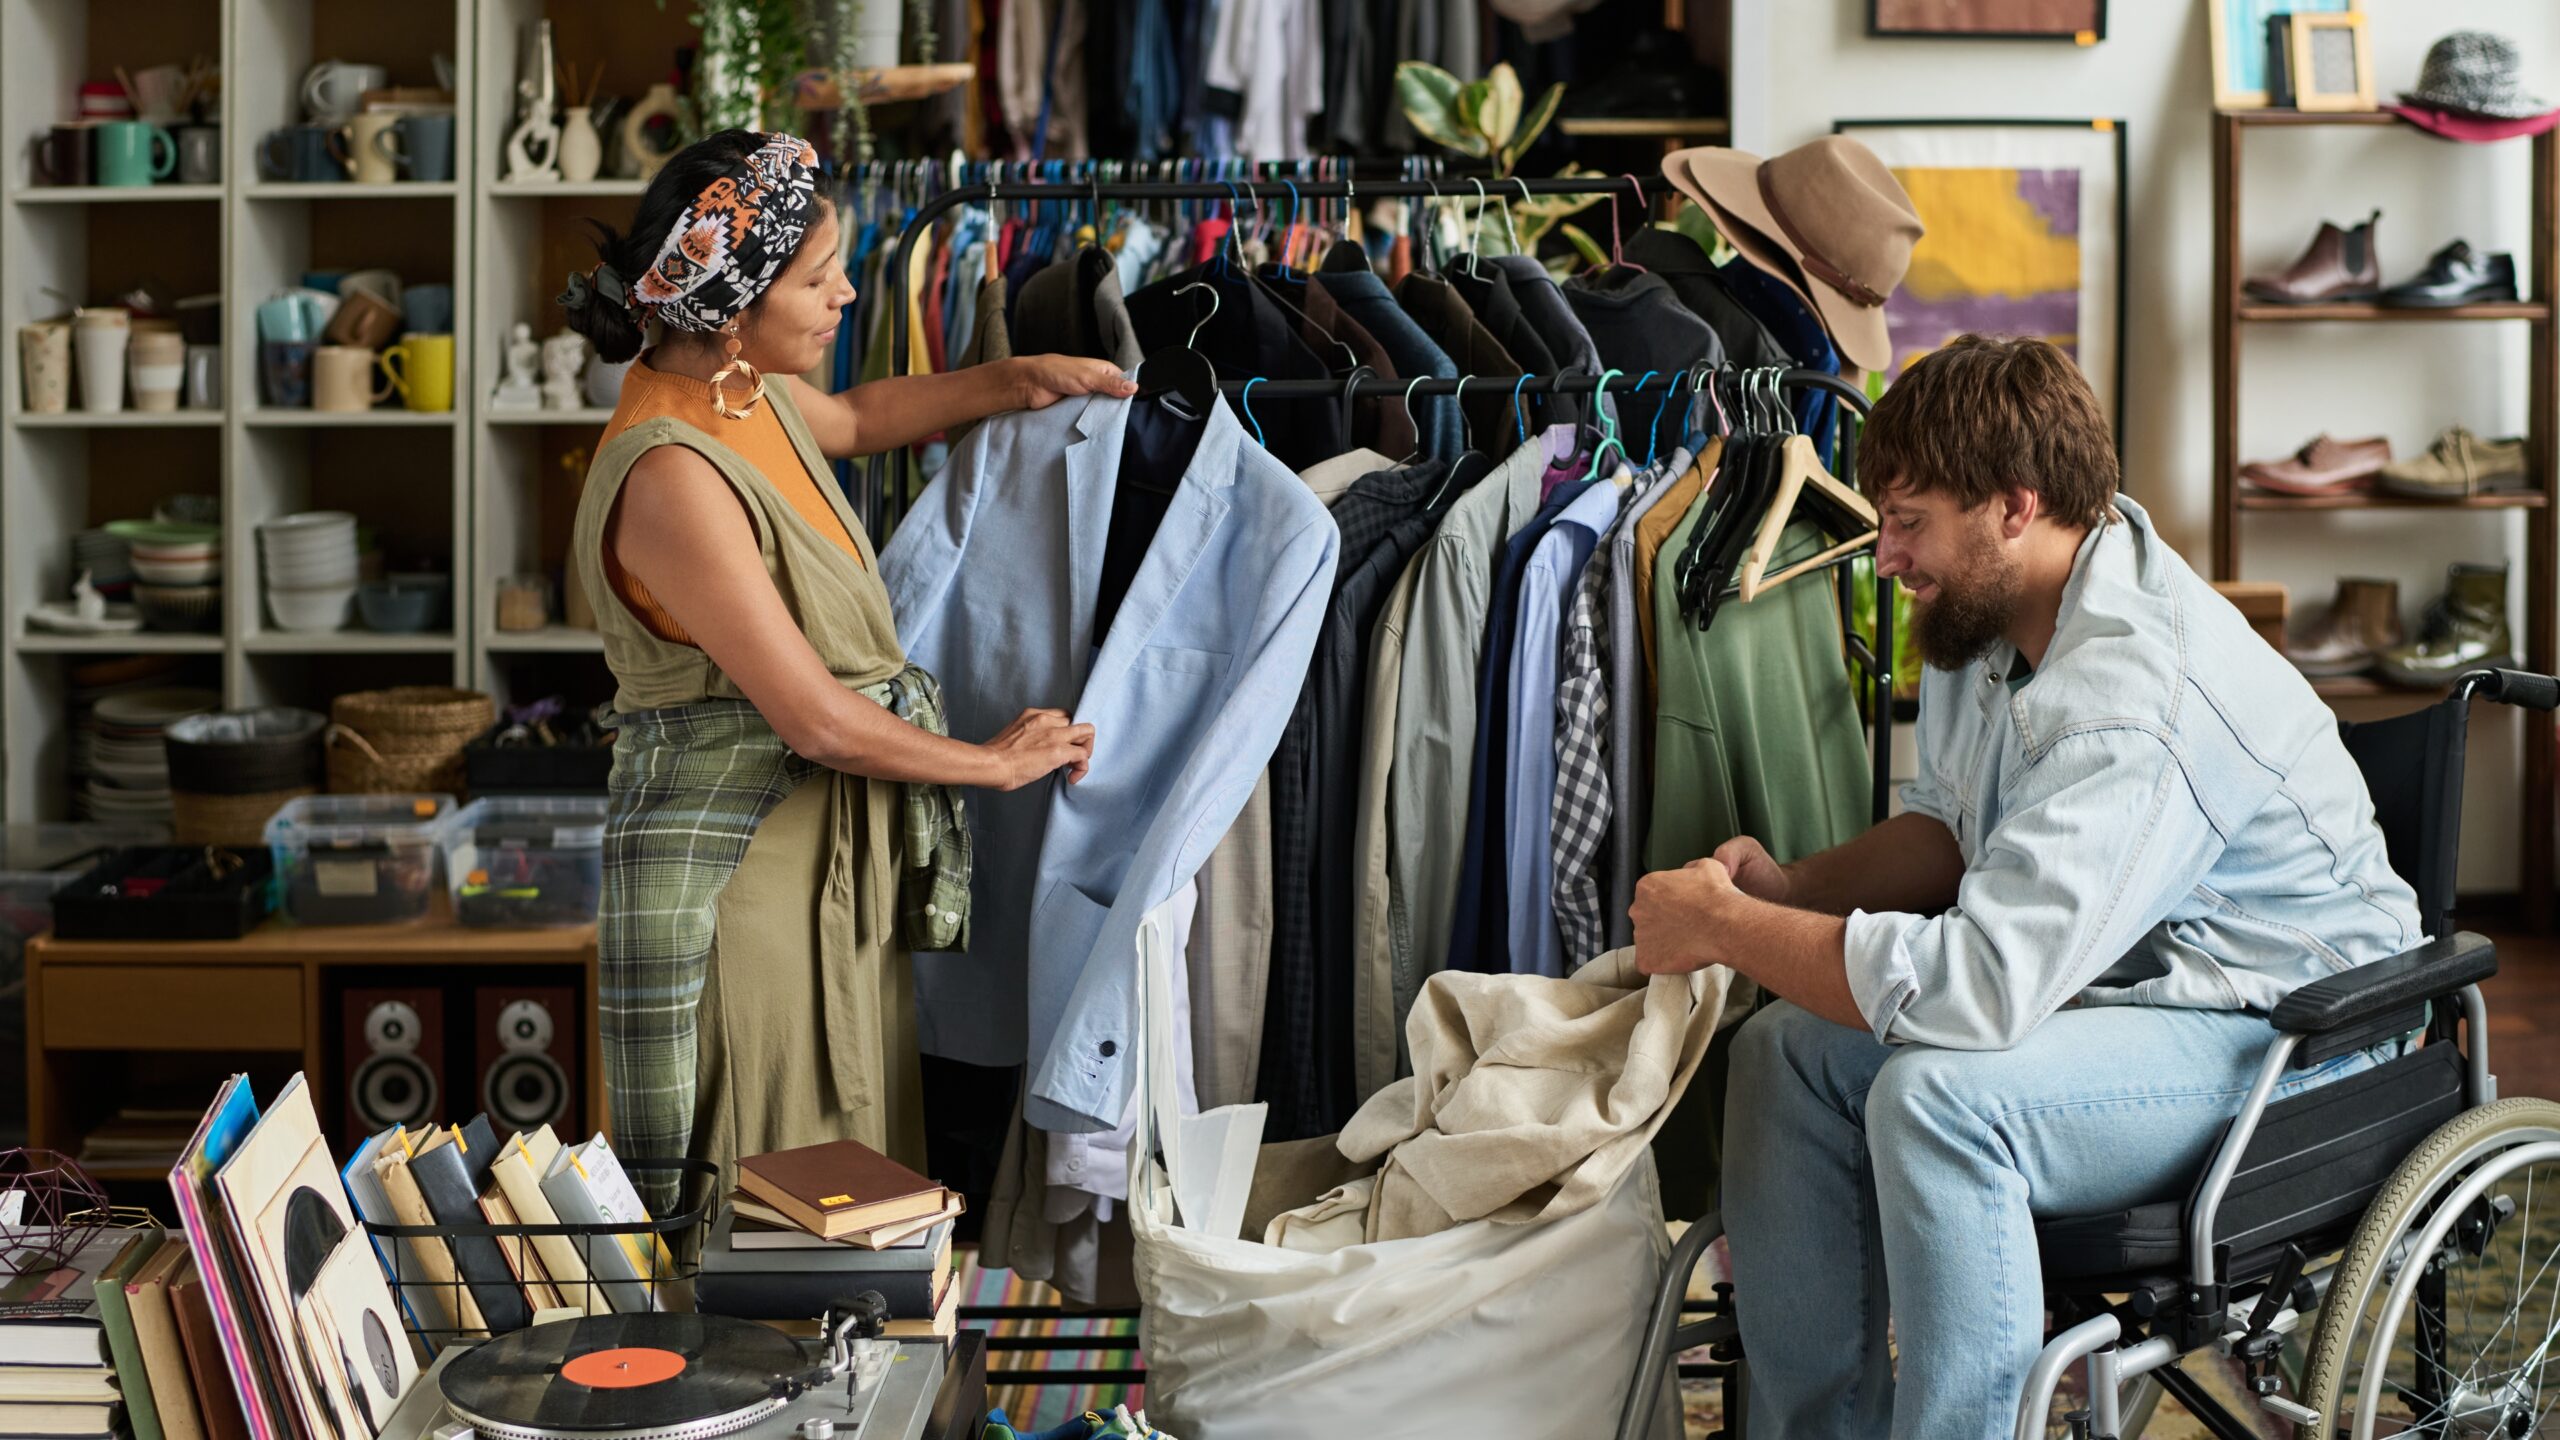
I still remember the first time I walked into a thrift store with the intention of actually making something instead of just finding it. The musty smell of old cotton mixed with that faint lavender scent from the donation bags hit me differently that day. I wasn’t hunting for a perfect vintage find anymore. I was looking at a rack of oversized men’s button-downs and seeing crop tops, seeing potential instead of just fabric.
That shift in perspective changed everything about how I shop secondhand, and over the past eight months, I’ve flipped more than fifty pieces of thrifted clothing into items I actually wear weekly. Some transformations took fifteen minutes with fabric scissors and a safety pin. Others required an afternoon, and my ancient sewing machine, which sounds like it’s haunting my apartment. But here’s what surprised me most: the failures taught me more than the successes, and the simplest flips often became my favorite pieces.
Why Thrift Store Flips Matter More in 2026
The fashion industry produces over 100 billion garments annually, according to the Ellen MacArthur Foundation, and most of those pieces end up in landfills within a year. Meanwhile, thrift stores overflow with perfectly good fabric that just needs a second chance. When you flip thrifted clothes, you’re not just saving money (though I’ve calculated I spend about 73% less than buying new trendy pieces). You’re actively keeping textiles out of waste streams while building a wardrobe that nobody else has.
The sustainable fashion movement has reached a tipping point where thrift flipping isn’t considered “alternative” anymore. It’s becoming standard practice for anyone who cares about their environmental impact and wants a unique style. But let’s be honest: most people still feel intimidated by the idea of cutting into a perfectly good garment, even one that cost them three dollars.
My Personal Thrift Flip Framework: The 5-Point System
After testing dozens of different approaches, I developed a simple scoring system to decide which thrifted pieces are worth flipping. This framework has saved me from wasting time on items that look promising but turn out to be disasters.
The CRAFT Score (each category gets 0-2 points, aim for 7+ total):
- Condition: Check seams, stains, fabric integrity
- Reusability: Can multiple pieces come from this one item?
- Accessibility: How easy is the flip with your current skill level?
- Fit Potential: Will it work for your body after alteration?
- Trend Alignment: Does it match current or timeless style preferences?
I tested this system on twenty pieces over two weeks, tracking which ones I actually finished and wore versus which sat in my “project pile” gathering dust. Items scoring 8 or higher had a 90% completion rate. Anything below 6 never made it past the first cut.
Beginner Thrift Flips: Start Here
The No-Sew Crop Top (Difficulty: 1/5)
This is where everyone should start. Find an oversized t-shirt with a graphic or text you like positioned in the upper half. Try it on, mark where you want the new hem to fall (usually right at your natural waist or an inch above), add two inches for a tie detail, then cut straight across. You can either leave the raw edge for a casual distressed look or tie the excess fabric into a small knot at the front or side.
My first successful flip was a men’s XL concert tee from a band I’d never heard of. The whole transformation took maybe eight minutes while I was watching a show. I’ve worn it at least thirty times since March, usually with high-waisted jeans. The raw cotton edge has developed this perfect, slightly curled texture that makes it look intentionally designed.
Turning Button-Downs into Off-Shoulder Tops (Difficulty: 2/5)
Oversized men’s dress shirts are thrift store gold. The simple trick: put the shirt on normally, then pull it down off both shoulders so the collar sits across your upper arms. Button it up partially in the front, then tie or tuck the excess fabric at your waist. The shoulder seams naturally fall at your elbows, creating that effortlessly slouchy look.
For a more permanent version, you can remove the collar entirely with a seam ripper (which costs about two dollars and changed my entire flipping game). This takes twenty minutes the first time you try it, maybe ten once you’ve done it twice.
The Reality of DIY Thrift Store Clothing Flips
Here’s something nobody tells you: about 40% of the pieces you attempt to flip will fail. I have a bag in my closet right now containing six projects that seemed brilliant in the thrift store and turned into unwearable disasters at home. There was the dress I tried to transform into a skirt without measuring first. I cut the sweater into a cropped cardigan, but accidentally made it so short that it basically became a shrug for a toddler.
Those failures cost me maybe twenty dollars total and taught me more about fabric behavior, proportion, and my own skill limits than any successful project could have. The trick is starting with cheap enough pieces that failure doesn’t sting.
Thrift Flip Ideas for Old Jeans and Denim
Denim is incredibly forgiving for beginners because the fabric doesn’t fray easily,y and the structure holds up through experimentation. I’ve transformed six pairs of thrifted jeans in the past few months using these techniques:
Adding Patches and Embroidery
Covering stains or worn areas with iron-on patches takes zero sewing skills. I found vintage-style patches online and on Etsy for about one to three dollars each. The key is mixing patches with different vibes rather than going for a super matchy theme. My favorite pair has a small embroidered moon next to a random band logo next to a tiny alien. It shouldn’t work, but somehow does.
According to Fashion Revolution, extending the life of clothing by just nine months reduces carbon, water, and waste footprints by around 20-30% each. Every patch you add,d instead of throwing jeans away, contributes to that impact.
The Tapered Leg Hack
Baggy thrifted jeans can be taken in at the leg without a sewing machine. Turn them inside out, put them on, and use safety pins to pin the excess fabric along the outer seam from knee to ankle. Take them off carefully, draw a line following the pins with tailor’s chalk, then hand-stitch along that line using a basic running stitch. This genuinely takes about an hour for both legs while watching something, and the results look surprisingly professional if you keep your stitches small and even.
Distressing and Cropping
Creating intentional rips and fraying gives old denim new life. Use sandpaper on areas that would naturally wear (knees, thighs, pockets) or carefully cut small horizontal slits and pull out some of the white horizontal threads. For cropping, try the jeans on, mark your desired length with chalk, add an inch, then cut. You can either hem them properly, leave them raw, or create a frayed edge by pulling horizontal threads.
My Detailed Testing: 20+ Thrift Flips Ranked
I spent two months deliberately trying different thrift flip techniques to see which ones actually resulted in pieces I wore regularly versus Instagram content that lived in my closet forever. Here’s what I discovered:
| Flip Type | Difficulty (1-5) | Time Investment | Cost Beyond Thrift Price | Wearability Score (1-10) | Notes from Real Testing |
| Basic Crop Top (T-shirt) | 1 | 10-15 min | $0 | 9 | Worn 30+ times, perfect with high-waisted anything |
| Button-Down to Off-Shoulder | 2 | 15-20 min | $0-2 (seam ripper) | 8 | Great for summer, removes the need for trendy purchases |
| Jeans Tapering (hand-sewn) | 3 | 60-90 min | $3 (thread, chalk) | 7 | Time-consuming but totally worth it for fit |
| Dress to Skirt Conversion | 4 | 45-60 min | $5 (elastic, thread) | 6 | Hit or miss, depending on dress structure |
| Sweater to Cropped Cardigan | 3 | 30-45 min | $2 (scissors) | 8 | Easy win, especially for oversized knits |
| Adding Patches to Jeans | 1 | 5-10 min per patch | $1-3 per patch | 9 | Instant personality, covers flaws |
| Hoodie to Cropped Hoodie | 2 | 20-30 min | $0 | 7 | Trending style, but proportion is tricky |
| Men’s Shirt to Women’s Fitted Top | 4 | 90-120 min | $8 (darts, machine time) | 5 | Requires sewing skills, often not worth the effort |
| Oversized Blazer with Rolled Sleeves | 1 | 2 min (styling only) | $0 | 10 | Not really a flip, but transforms the piece completely |
| Maxi Dress to Midi Length | 2 | 30-40 min | $2 (hem tape option) | 8 | Simple cut and hem, big style update |
The biggest surprise was how often the simplest transformations became my most-worn pieces. That oversized blazer styling trick, where you just roll the sleeves to three-quarter length and wear it open over everything, has gotten more compliments than projects I spent hours on.
Transform Thrifted Blouses into New Tops
Blouses present unique opportunities because they often come with interesting details like unique buttons, vintage collars, or pretty prints. The easiest flip involves changing the silhouette rather than the actual construction.
I found a floral blouse with shoulder pads that screamed 1987. Removing those shoulder pads with a seam ripper took about fifteen minutes and completely modernized the piece. Then I tucked it into high-waisted pants instead of wearing it loose, and suddenly it looked intentionally vintage rather than accidentally dated.
For blouses that are still too boxy, try the French tuck (just the front tucked in, sides out) or tie the front hem into a small knot at your waist. These zero-commitment styling tricks often work better than permanent alterations.
Thrift Store Clothing Flips: Oversized to Fitted Outfits
The oversized-to-fitted transformation is trickier than it looks. I learned this the hard way with a beautiful vintage dress that I tried to take in at the sides. The problem: I didn’t account for how the darts would affect the waist placement, and I ended up with a dress that fit weird through the bust and pulled strangely when I sat down.
The Refashionista, a blog dedicated to thrift flipping, recommends starting with pieces that are only one to two sizes too large rather than dramatically oversized items. The less fabric you need to remove, the easier it is to maintain the garment’s original design integrity.
For beginners, strategic hand-sewing of darts at the back or sides works better than attempting to re-cut entire side seams. A single dart on each side of the back waist can take in about two inches total and creates a more fitted silhouette without requiring you to deconstruct the entire piece.
Upcycle Thrifted Sweaters into New Cardigans
This flip became my personal favorite after I successfully transformed three oversized sweaters into cropped cardigans that I wear constantly. The process is straightforward but requires confidence with scissors.
Find a sweater that’s too long or boxy. Try it on and mark where you want it to end (I like mine hitting right at my natural waist). Cut straight across at that mark. For the cardigan part, cut straight up the center front from hem to neckline. The knit fabric naturally curls slightly at the edges, creating a built-in finished look. You can wear it as-is or add hooks and eyes for a closure.
The first time I cut into a whole sweater felt terrifying. My hands were actually shaking a little. But knit fabric is remarkably forgiving, and the worst-case scenario was losing a four-dollar sweater. The best-case scenario was gaining a piece I’ve worn at least once a week since September.
Quick Thrift Flips for Old Denim into Custom Pieces
Beyond the techniques I mentioned earlier, denim accepts embellishments better than almost any other fabric. I’ve experimented with fabric paint (which mostly cracked and looked bad), embroidery (time-consuming but beautiful), and my personal favorite: strategic bleaching.
The bleach splatter technique involves laying jeans flat outside or in a well-ventilated area, mixing one part bleach with one part water in a spray bottle, and lightly misting the fabric. The denim lightens in unpredictable patterns that look intentionally artistic. Let it sit for 20-30 minutes, then rinse thoroughly and wash separately. This costs basically nothing and transforms plain denim into statement pieces.
Just be careful. I accidentally bleached a hole through one pair by leaving the solution on too long. Now I set a timer religiously.
Common Mistakes and Hidden Pitfalls in Thrift Flipping
After months of trial and error, these are the mistakes I’ve made repeatedly and watched others struggle with:
Not Checking Fabric Content First
I once spent an hour cutting and styling a “cotton” dress only to discover it was 100% polyester when I tried to iron it and nearly melted a hole through the fabric. Always check the care tag for fiber content before you commit to a project. Natural fibers like cotton, linen, and wool are far more forgiving for beginners than synthetics.
Forgetting to Wash Before Cutting
Thrifted clothes carry mystery stains, odors, and sometimes shrinkage that only reveals itself after the first wash. I now wash everything before I start any project. There’s nothing worse than finishing a perfect crop top only to have it shrink two inches shorter after the first laundry cycle.
Measuring Once (or Not at All)
The “measure twice, cut once” rule exists for a reason. I’ve ruined at least five pieces by eyeballing measurements and cutting confidently without double-checking. Now I measure, mark with chalk, measure again, then mark again before I ever pick up scissors. Those extra two minutes save entire projects.
Ignoring Your Actual Skill Level
I watched three YouTube tutorials on installing zippers and convinced myself I could add one to a dress. Two hours later, the zipper was crooked, bunched, and completely unusable. Some techniques require practice on scrap fabric first, or just aren’t worth attempting without proper skills. There’s no shame in sticking to no-sew or basic hand-sewing projects until you’re ready to level up—especially now, as AI in fashion helps with design inspiration and fit ideas but still can’t replace hands-on technique and craftsmanship.
Choosing Pieces Based on Price Instead of Potential
A two-dollar item isn’t a deal if it sits in your project pile forever because the fabric is weird, the fit is impossible to salvage, or you don’t actually like it enough to wear it. I now use my CRAFT scoring system religiously and walk away from cheap pieces that score low. Better to spend five dollars on something I’ll actually flip and wear than two dollars on future clutter.
Not Planning for the “Weird Stage”
Every thrift flip goes through a phase where it looks worse than when you started. The moment right after you’ve made the first cut, before you’ve hemmed or styled it, the piece looks like a mistake. Knowing this phase is temporary keeps you from panicking and throwing the project away. I now take photos so I can see the actual transformation rather than just remembering the weird middle stage—something you’ll notice a lot in Korean street fashion, where bold experimentation often passes through an awkward phase before becoming iconic.
A Contrarian Take: Sometimes Styling Beats Flipping
Here’s something that goes against the entire premise of thrift flipping: sometimes the best “flip” is actually no flip at all. Just different styling.
I spent weeks trying to figure out how to physically alter a vintage men’s blazer before I realized I could just wear it oversized with the sleeves pushed up, and it looked perfect. That’s technically not a flip, but it transformed the piece just as effectively. According to ThredUp’s 2024 Resale Report, the secondhand market is growing 11 times faster than traditional retail, partly because people are learning to see potential in pieces beyond their original intended style.
The future of sustainable fashion might not be everyone learning to sew. It might be everyone learning to see clothes differently, to style creatively, to mix thrifted pieces with modern ones in unexpected ways. The actual cutting and sewing is just one tool in a bigger toolkit.
Looking Ahead: Thrift Flipping Trends for Late 2026
Based on what I’m seeing in thrift stores and online communities, here are my predictions for where thrift flipping is heading:
Visible Mending Will Go Mainstream: Instead of hiding repairs, people will showcase them with contrasting thread colors and decorative patches. The Japanese concept of sashiko (visible reinforcement stitching) is already gaining traction among sustainable fashion advocates.
AI-Assisted Pattern Matching: Apps that help you visualize potential flips before you cut are in development. Point your phone at a thrifted piece, and the app shows you three possible transformations based on current trends and your skill level. This technology could reduce the intimidation factor significantly.
Collaborative Flip Spaces: More cities are opening community workshops where people can access sewing machines, tools, and guidance for thrift projects. These spaces solve the “I don’t have a sewing machine” barrier that stops many beginners.
Rental Flipping: Some entrepreneurs are testing a model where they flip thrifted clothes and rent them out rather than selling them. It’s the circular economy taken to its logical extreme.
Essential Tools for Beginner Thrift Flips
You don’t need much to start flipping thrifted clothes. My essential toolkit cost about thirty dollars total:
- Fabric scissors (sharp ones, never use them on paper): $8-12
- Seam ripper: $2-3
- Measuring tape: $3-5
- Tailor’s chalk or fabric marker: $3-4
- Safety pins (large pack): $2-3
- Basic hand-sewing needles and thread in neutral colors: $5-8
- Optional but helpful: iron and ironing board for crisp finished edges
The fancy stuff like sewing machines, sergers, and specialty tools can wait. I’ve successfully flipped dozens of pieces with just scissors, a seam ripper, and safety pins. Don’t let equipment gatekeeping stop you from starting.
Final Thoughts on Turning Old Clothes into New Favorites
Last weekend, I wore a cropped cardigan I’d made from a thrifted sweater to a casual dinner. Three different people asked where I got it. When I explained it was a four-dollar thrift find that I’d cut and styled myself, the reactions ranged from impressed to skeptical to inspired. One person immediately wanted to know how to start.
That’s the thing about thrift store flips that keeps me coming back: they spark conversations. They make you look at consumption differently. They prove that creativity matters more than budget. And on a practical level, they fill your closet with pieces that actually reflect your style rather than whatever fast fashion decided was trendy this season—a mindset that sits right at the center of the genz vs millenial fashion conversation around identity, sustainability, and self-expression.
You won’t love every piece you flip. Some will fail spectacularly. But the ones that succeed become your favorites precisely because you made them yours. That’s worth a few disasters along the way.
Key Takeaways
- Start with simple no-sew flips like crop tops and styled oversized pieces before attempting complex alterations requiring sewing skills.
- The CRAFT scoring system (Condition, Reusability, Accessibility, Fit Potential, Trend Alignment) helps identify which thrifted pieces are worth the effort to fix.p
- Testing revealed that basic transformations like cropped tees and sweater cardigans had a 9/10 wearability score, es while complex fitted alterations often scored below 6/10
- Always wash thrifted pieces before cutting or altering them to account for shrinkage and reveal hidden stains or fabric issues.
- About 40% of flip attempts will fail, but starting with items under five dollars makes experimentation affordable and educational.l
- Natural fiber fabrics like cotton, linen, and wool are significantly more forgiving for beginners than synthetic materials.
- Sometimes the best flip is no physical alteration at all, just creative styling that transforms how the piece looks and feels.
- Essential tools for starting cost around thirty dollars total: sharp fabric scissors, seam ripper, measuring tape, chalk, and safety pins
FAQ Section
How do I start thrift flipping if I can’t sew at all?
Begin with no-sew projects like cropping t-shirts, styling oversized button-downs as off-shoulder tops, or adding iron-on patches to jeans. These techniques require only fabric scissors and basic styling skills. My most-worn flips are actually the simplest ones that took under twenty minutes and zero sewing. Once you’re comfortable cutting and styling, you can graduate to basic hand-sewing techniques like simple hems or adding darts.
What types of thrifted clothes are easiest to flip for beginners?
Oversized cotton t-shirts, men’s button-down shirts, denim jeans, and knit sweaters are the most forgiving for beginners. These fabrics don’t require special handling; they’re usually cheap at thrift stores (under five dollars), and mistakes are easy to hide or work with. Avoid anything with complex construction, like blazers with lining, formal dresses with boning, or delicate fabrics like silk,k until you’ve built confidence with simpler materials.
How much does it typically cost to start flipping thrifted clothes?
Beyond the thrifted clothing itself (which typically costs two to eight dollars per piece), you can start with about thirty dollars in basic tools: fabric scissors, seam ripper, measuring tape, chalk, and safety pins. Many successful flips require zero additional materials beyond these basics. As you progress, you might invest in a sewing machine (fifty to two hundred dollars for a decent beginner model) or specialty notions, but these aren’t necessary for your first dozen projects.
Do thrift flips actually look good enough to wear regularly, or are they just for social media?
My personal testing showed that simple, well-executed flips become regular wardrobe staples. I’ve worn my thrifted and cropped sweater cardigan at least forty times since making it in September. The key is choosing transformations that match your actual style and skill level rather than attempting trendy, complex projects you saw online. The pieces scoring 8+ in my wearability testing were mostly simple modifications that improved fit or updated styling rather than dramatic reconstructions.
What’s the biggest mistake beginners make when flipping thrifted clothes?
Not washing the piece before cutting is the most common mistake. Thrifted clothes can shrink, fade, or reveal hidden damage after the first wash, which ruins your finished project. The second biggest mistake is choosing pieces based on price rather than actual potential, using criteria like fabric quality, fit potential, and your skill level. A two-dollar item isn’t a bargain if it becomes clutter instead of something you actually complete and wear.